Introduction
An axe handle is subject to wear and tear over time, and eventually, it may require replacement. Fortunately, replacing an axe handle is a straightforward process that can be done with some basic tools and a little bit of patience.
In this guide, we will walk you through the step-by-step instructions for replacing an axe handle, ensuring a sturdy and reliable replacement. Whether you are a seasoned woodworker or a DIY enthusiast, this guide will equip you with the knowledge needed to successfully replace an axe handle.
How to Replace an Axe Handle?
Follow these step-by-step instructions to replace your axe handle:
Gather the necessary tools and materials: To replace an axe handle, you will need the following:
-
-
- New axe handle
- Safety gloves and goggles
- Hacksaw or axe wedge removal tool
- Sandpaper or file
- Hammer
- Wood glue or epoxy resin
- Wedges or metal shims
- Vise or clamps
-

Remove the old handle:
-
-
- Secure the axe head: Place the axe head in a vise or use clamps to hold it securely. Ensure it is positioned in a way that allows easy access to the handle.
- Remove the old handle: Use a hacksaw or axe wedge removal tool to carefully cut or remove the old handle. Take your time and be cautious during this step to prevent any damage to the axe head.
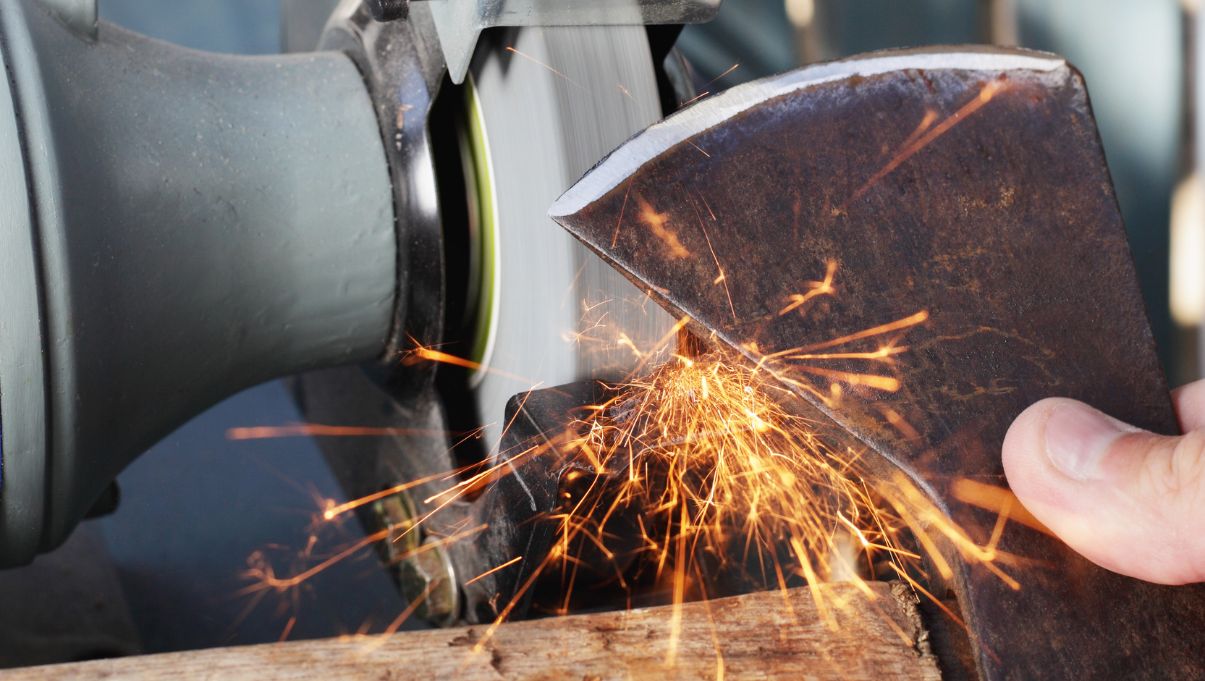
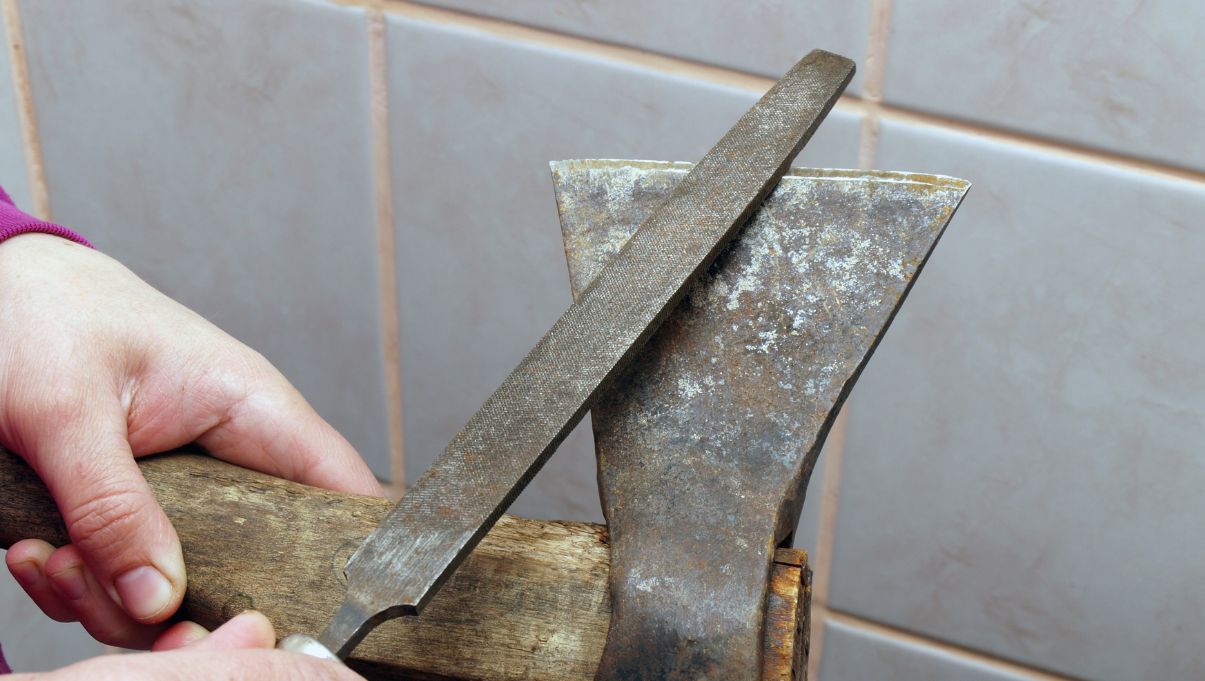
- Clean the axe head: Once the old handle is removed, clean the axe head to remove any dirt or debris. You can use sandpaper or a file to smooth out any rough edges.
-
Prepare the new handle:
-
-
- Fit the new handle: Compare the size and shape of the new handle to the axe head. If necessary, use sandpaper or a file to make any adjustments for a proper fit. The handle should slide into the axe head snugly.
- Apply wood glue or epoxy resin: Coat the end of the handle that will be inserted into the axe head with wood glue or epoxy resin. This will help create a strong bond between the handle and the head.
-
Install the new handle:
-
-
- Insert the handle into the axe head: Carefully insert the prepared end of the new handle into the axe head. Make sure it is inserted fully and securely.
- Secure the handle: Place the axe head with the inserted handle into a vise or use clamps to hold it firmly. This will provide stability during the next steps.
- Drive in the wedges: Insert wooden or metal wedges into the slot at the top of the handle. Use a hammer to drive them in, ensuring a tight fit. Add enough wedges to firmly secure the handle.
- Trim the excess: Use a saw or chisel to trim off any excess length of the wedges, leaving them flush with the axe head.
-
Final touches:
-
- Smooth the handle: Use sandpaper or a file to smooth out any rough edges or imperfections on the handle. This will enhance the grip and overall comfort.
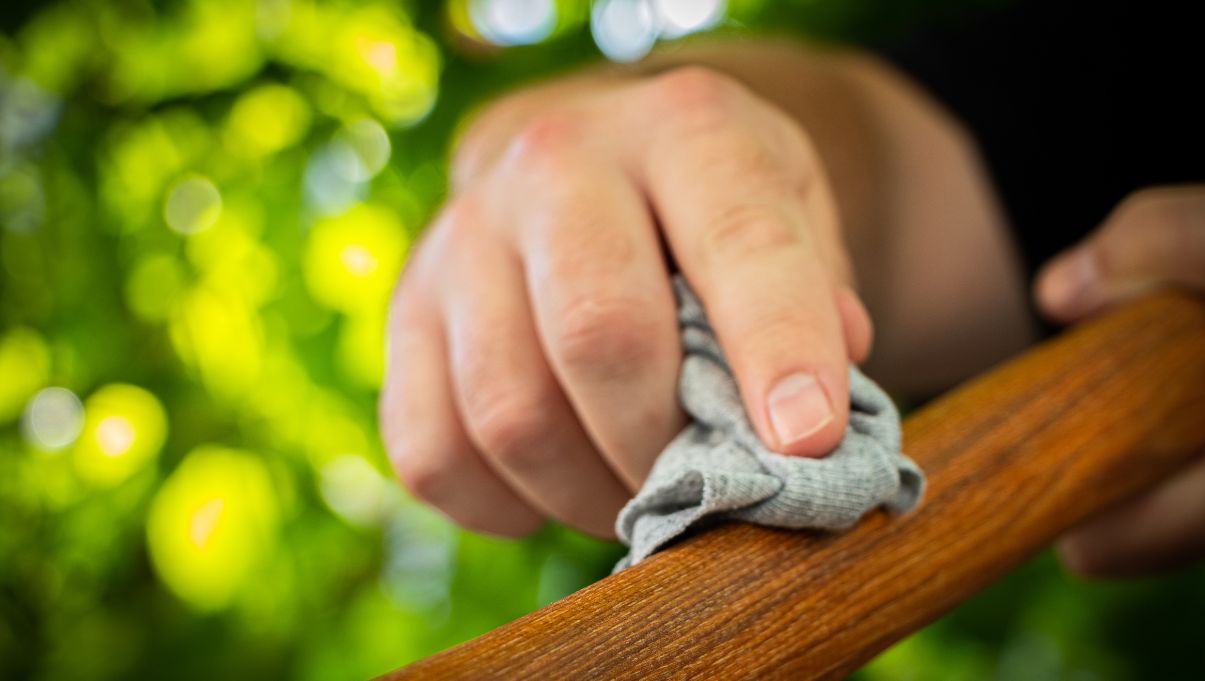
- Apply a protective finish: Consider applying a protective finish to the handle, such as linseed oil or varnish. This will help protect the wood from moisture and extend its lifespan.
Tips for Successful Replacement:
- Safety first: Wear safety gloves and goggles throughout the process to protect yourself from any potential accidents or flying debris.
- Choose the right handle: Select a handle that matches the size and type of your axe head. Ensure it is made from high-quality wood and is suitable for the intended use of the axe.
- Proper fit: Take your time to ensure the new handle fits snugly into the axe head. Make necessary adjustments using sandpaper or a file for a precise fit.
- Secure the handle firmly: Use multiple wedges or metal shims to secure the handle tightly in place. This will prevent any loosening or wobbling during use.
- Allow sufficient drying time: If you are using wood glue or epoxy resin, follow the manufacturer’s instructions regarding the drying time. Allow sufficient time for the adhesive to set and create a strong bond.

FAQs
Can I replace an axe handle myself?
Yes, replacing an axe handle is a task that can be done by yourself. With the right tools, materials, and instructions, you can successfully replace the handle of your axe and restore its functionality. However, it is important to approach the process with caution, follow proper safety procedures, and ensure you have a good understanding of the steps involved in the replacement.
What type of wood is suitable for axe handles?
Several types of wood are suitable for axe handles, each with its own characteristics. Common choices include hickory, ash, and oak. These woods are known for their strength, durability, and ability to withstand the impact and stress of axe use. Hickory is a popular choice due to its excellent shock resistance and flexibility. Ash is also widely used for its toughness and resilience. Oak, known for its hardness, is often used for heavier-duty axes. When selecting a wood for your axe handle, consider the specific requirements of your axe and choose a wood type that matches those needs.
Can I reuse the old wedges?
It is generally recommended not to reuse the old wedges when replacing an axe handle. Over time, wedges may become worn, damaged, or loose, compromising their ability to securely hold the handle in place. Replacing the wedges ensures a tight and secure fit between the handle and the axe head, reducing the risk of the handle loosening during use. It is advisable to use new wedges specifically designed for axe handles. These wedges are typically made from hardwood or metal and are shaped to fit the wedge slots properly, providing optimal stability and longevity for the handle replacement.
Conclusion
Replacing an axe handle is a practical skill that allows you to revive a worn-out or damaged axe. By following the step-by-step instructions outlined in this guide and implementing the provided tips, you can successfully replace the handle of your axe and restore its functionality. Remember to prioritize safety, choose the right materials, and allow sufficient drying time for adhesives. With a new handle in place, your axe will be ready to tackle various cutting tasks for years to come.